How to Program Your Garage Door Remote: A Complete Guide for Azusa Residents

Understanding Your Garage Door Remote
Your garage door remote is more than just a convenience; it’s a crucial part of your home’s security system. Residents in Azusa, CA, rely on these devices for easy access to their garages, which can house vehicles, tools, and other valuable items. Understanding how to program your remote is essential for maintaining your garage door's functionality.
Why Programming Your Garage Door Remote is Important
There are several reasons why you might need to program your garage door remote:
- New Remote: If you’ve recently purchased a new remote, programming it is necessary for operation.
- Changing Codes: For added security, you might want to change the access code regularly.
- Lost Remote: In case your remote is lost or stolen, reprogramming is crucial to avoid unauthorized access.
- Battery Replacement: Sometimes, after a battery change, the remote may need reprogramming.
Steps to Program Your Garage Door Remote
Here’s a step-by-step guide to help you program your garage door remote successfully:
Step 1: Identify Your Garage Door Opener Model
Before you start, it’s vital to know your garage door opener model as programming steps can vary. Most models can be found on the back or inside the motor unit. If you’re unsure, refer to the owner's manual, or check online resources.
Step 2: Clear the Old Codes
To prevent interference from old codes, clear them before you start programming your new remote. Here’s how:
- Locate the 'Learn' button on your garage door opener.
- Press and hold the button until the indicator light turns off (about 6 seconds).
- This action erases all previously programmed remotes.
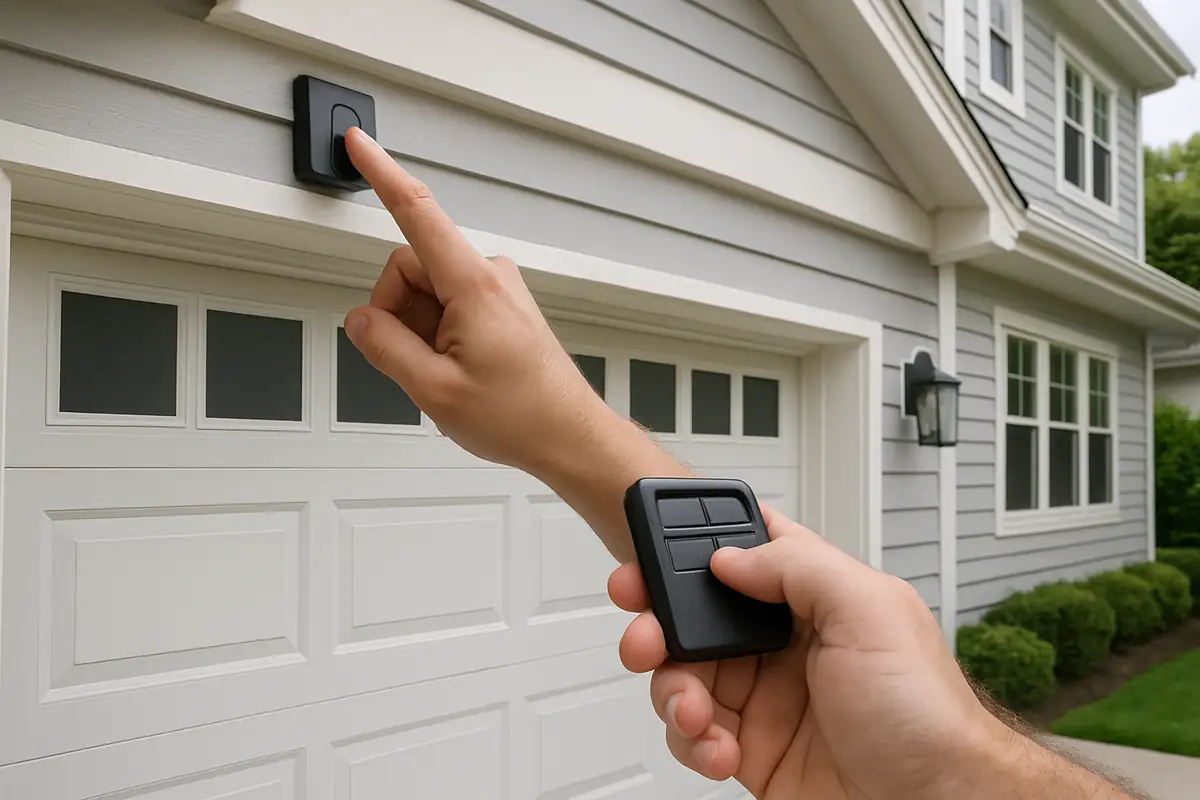
Step 3: Program Your New Remote
Now it’s time to program your new remote:
- Press and release the 'Learn' button on your garage door opener. The LED light will illuminate.
- Within 30 seconds, press and hold the button on your remote that you wish to program.
- Release the button when the garage door opener lights blink, indicating that the programming was successful.
Step 4: Test the Remote
Once you’ve completed programming, it’s essential to test the remote. Stand a reasonable distance away from your garage door and press the button. The door should respond immediately. If it doesn’t, repeat steps 2 and 3.
Troubleshooting Common Issues
If you encounter problems during programming, here are some troubleshooting tips:
- Remote Not Responding: Ensure you are within range and that the remote battery is functional.
- Door Opening Unexpectedly: The remote may still carry old codes; repeat the clearing process.
- Garage Door Opener Light Blinking: Check your user manual for specific error codes related to your model.
Maintenance Tips for Your Garage Door System
To ensure your garage door and remote function smoothly, follow these maintenance tips:
- Regular Inspections: Check the door balance and tracks regularly for wear and tear.
- Cleansing: Clean the remote and the sensors frequently to avoid dirt buildup.
- Battery Changes: Change the remote battery at least once a year, even if it’s not low.
Conclusion: Control Your Garage Door with Confidence
Programming your garage door remote is a straightforward process that enhances your convenience and security. Azusa residents can easily follow this guide to take control of their garage door systems effectively. Should you face persistent issues or require professional assistance, don't hesitate to reach out to Azusa Garage Door Repair. Our experts are ready to assist you with all your garage door needs!
Explore More Resources
Related Articles
Our Services
Professional garage door repair, spring repair, opener installation and more. View all services →